Eggless Ice-cream Wafer Sandwiches
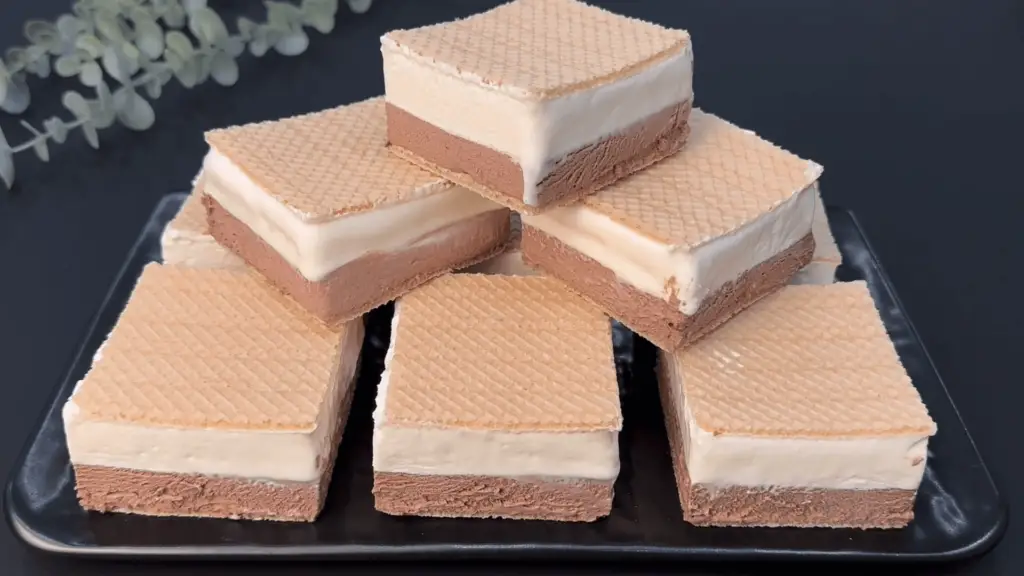
Making ice cream will never be this easy. This two-ingredient ice cream recipe requires no baking or Cooking and is a perfectly delightful dessert for everyone!
Ice cream is the perfect dessert for everyone. But making ice cream from scratch is a long process, and you need a churning machine. With our two-ingredient recipe, you can make perfectly creamy, smooth, and rich ice cream at home. The recipe is quick and easy. All you need is 5 minutes in the kitchen and a few hours of waiting time for this delicious dessert.
Wafer Ice-cream
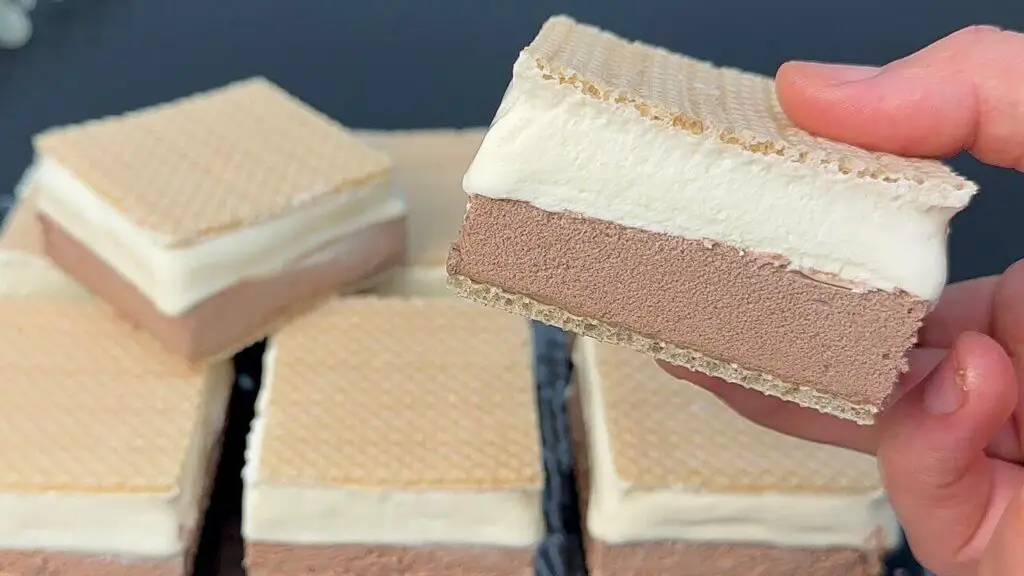
Ingredients
150 g of condensed milk (0,5 cup)
20 g of bitter cocoa (3 tablespoons)
250 ml of already sweetened whipping cream (1 cup)
250 ml of sweetened whipping cream (1 cup)
140 ml condensed milk (1/2 cup)
Ingredient Notes
- Sweetened Condensed Milk: Condensed milk is one of the main bases of ice cream. It is creamy and adds sweetness to the ice cream.
- Sweetened Whipping Cream: The sweetened Whipping cream is the other base of the ice cream. It is the perfect element that gives the filling sweetness and fluffiness.
- Bitter Cocoa: We use bitter Cocoa as a flavor. It gives a nice chocolatey taste and richness to the ice cream.
- Wafers: Wafers add a crunchy texture to the ice cream and hold it together as ice cream sandwiches.
Preparation
For the Chocolate Ice cream:
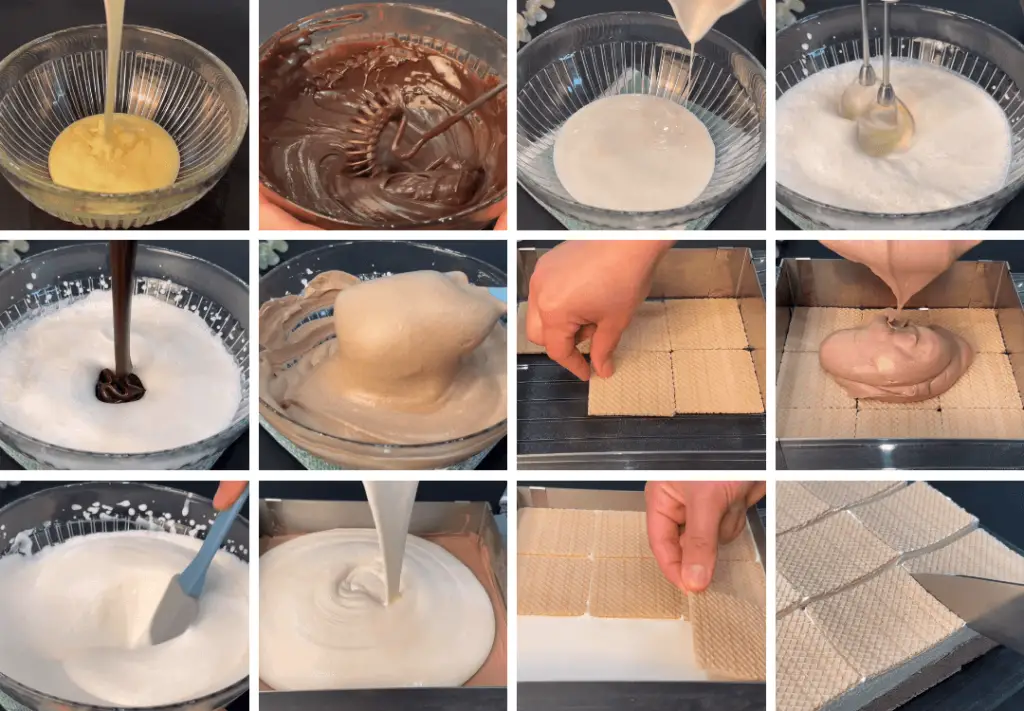
- In a clean mixing bowl, pour sweetened condensed milk and bitter cocoa. Mix them well to combine with the help of a whisk. Set aside.
- In another clean bowl, pour in the whipping cream.
- Whisk the cream until soft peaks are formed.
- Pour the condensed milk mixture into the whipped cream.
- Gently whisk the mixture together and incorporate well.
the Simple Ice cream:
- In a clean bowl, pour in the whipping cream.
- Whisk the cream until soft peaks are formed.
- Pour the condensed milk into the whipped cream.
- Gently whisk the mixture together and incorporate well.
For the Assembly:
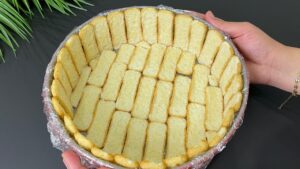
- Lay half of the wafers inLay half of the wafers in a large adjustable cake pan or dish to cover the entire dish.
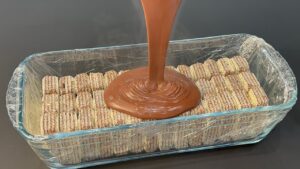
- Pour the chocolate ice cream mixture. Spread the ice cream evenly and smooth the surface out with the help of a spatula or the back of a spoon.
- Freeze for 30 minutes.
- After 30 minutes, pour the simple ice cream mixture into the same dish.
- Again, spread the ice cream evenly and smooth the surface with a spatula or the back of a spoon.
- Now, lay over the rest of the wafers to cover the ice cream.
- Now freeze the dessert for at least 3 to 6 hours.
For the Serving:
- Take the dessert out of the freezer and place a tray over it.
- Gently remove the cake pan.
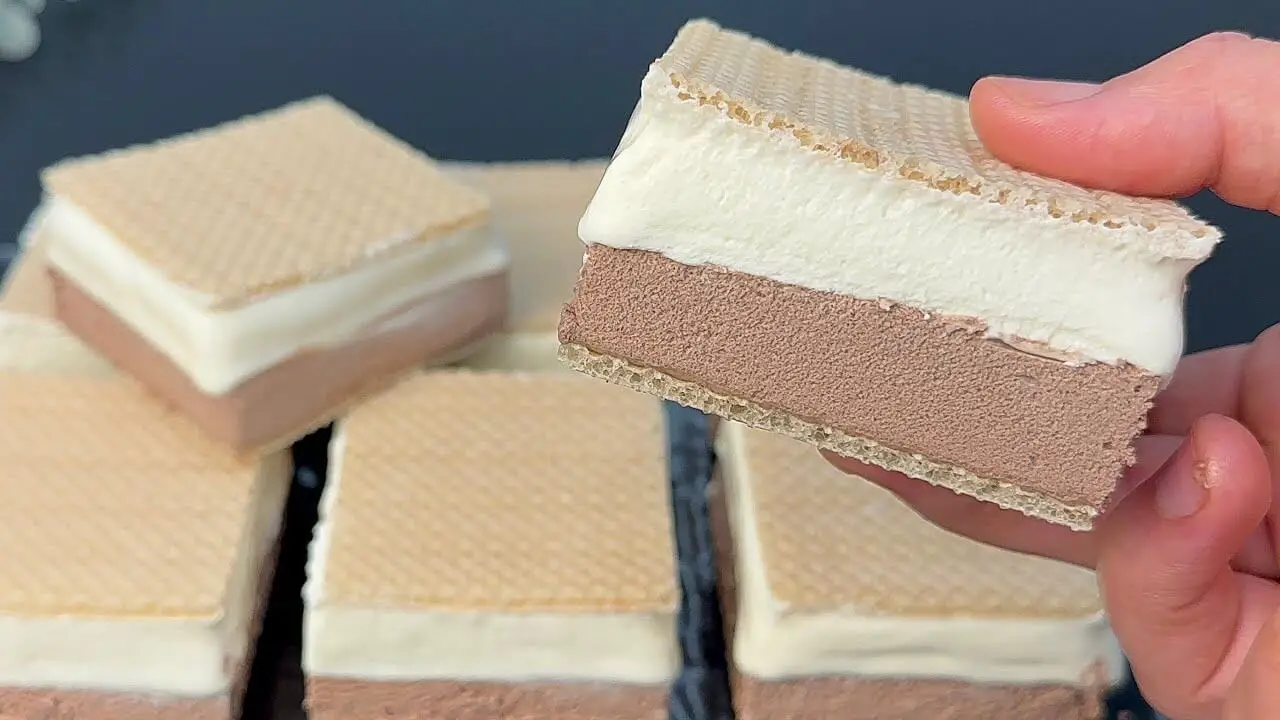
- Cut the dessert into equal size sandwiches.
- Serve them chill and enjoy.
Recipe Video
Discover how to make these recipe step-by-step with our recipe video. Click the link for guided instructions!
Expert Tips
- Ensure the dessert is refrigerated for at least 6 hours for the filling to set.
- Use chilled whipping cream for the filling. Cool whipping cream will form peaks quickly and be much lighter and fluffy than at room temperature.
- Be careful if you use a stand or electric hand mixer to whip the cream. Such mixers might over-whip the cream, which results in a split or spoiled mixture. As soon as peaks are formed, stop whipping.
Variations
- Chocolate: You can dip the sandwiches in the chocolate to add more richness and a chocolatey taste.
- Coffee: Mix in a espresso or instant coffee in the simple ice cream base to have a coffee-flavored kick within the dessert.
- Desiccated Coconut: Use desiccated coconut to cover the sides of the sandwiches to add tropical flavor.
- Nuts: You can either cover the edges of the sandwiches with chopped nuts like pecans, hazelnuts, walnuts, peanuts,, or almonds, or add the nuts toto the ice cream,, too.
- Jams and Spread swirls: Swirl your favorite jam, like raspberry or strawberry jam, into the simple ice cream for a fruity surprise. You can also swirl in spreads or nut butters, like Nutella, Peanut butter, or Biscoff spread, instead of bitter cocoa or just in a simple ice cream base.
Storage
You can store these ice creams for about two weeks. Store it in an airtight container to avoid getting the texture icy. Serve chilled for the best taste experience.

