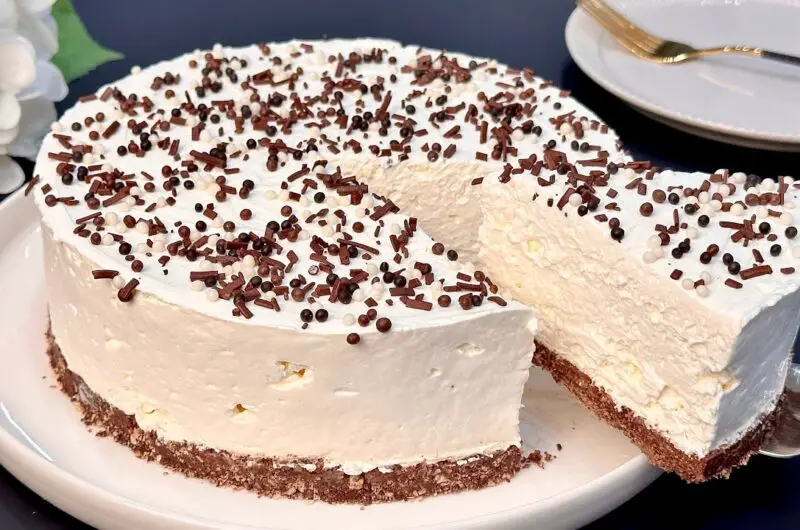
No-Bake Chocolate Wafer Cake with Mascarpone: Easy Recipe
Course: Cakes, No-Bake DessertsCuisine: Ricette DolciDifficulty: Easy6
servings30
minutesWho said you can’t whip up a culinary masterpiece in a matter of minutes? Here’s a treat for those moments when you crave something sweet but are short on time. This quick and easy cold cake is not just a delight to taste buds but also showcases the magic of quick desserts. Ideal for impromptu gatherings or an unexpected dessert craving, you’re going to bookmark this one!
Ingredients
300 g di wafer al cioccolato
180 g di Philadelphia o Mascarpone (3/4 cup)
400 ml di panna da montare già zuccherata (3/4 cup)
200 g di latte condensato (2/3 cup)
Decorazioni facoltative
Mettere in frigo per almeno2 ore .
STEP-BY-STEP INSTRUCTIONS
- Step 1
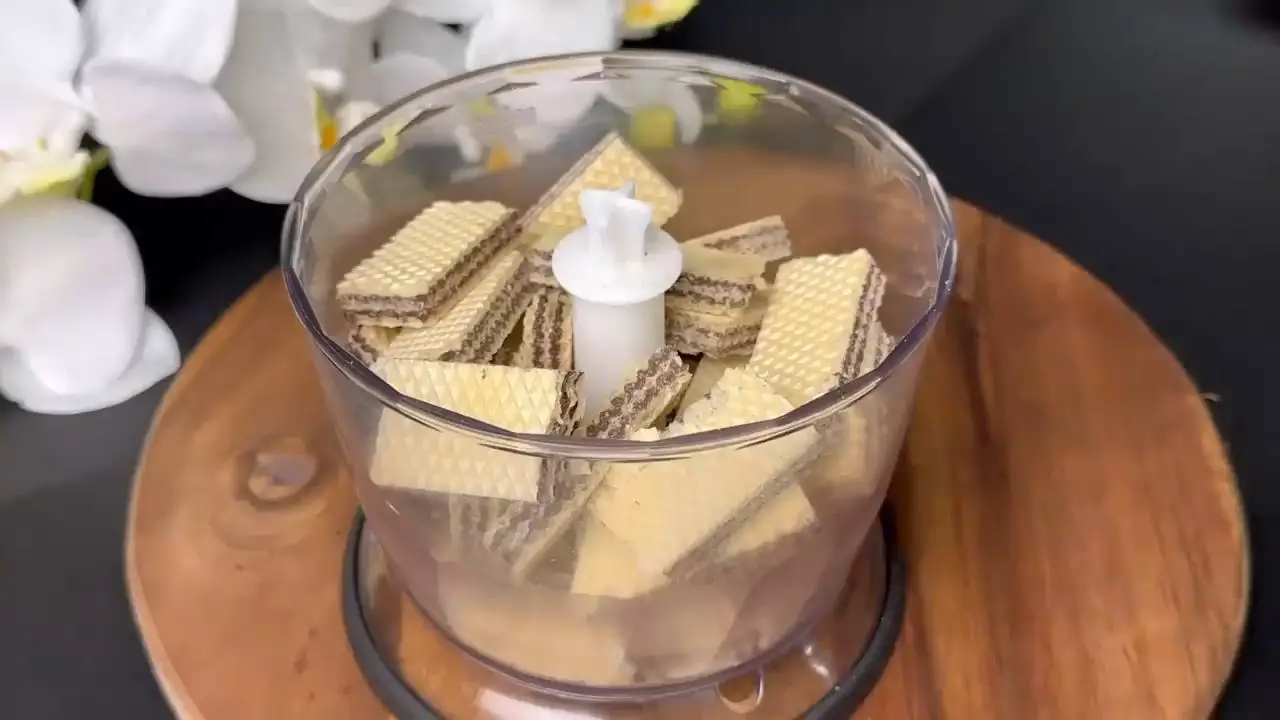
- Step 2
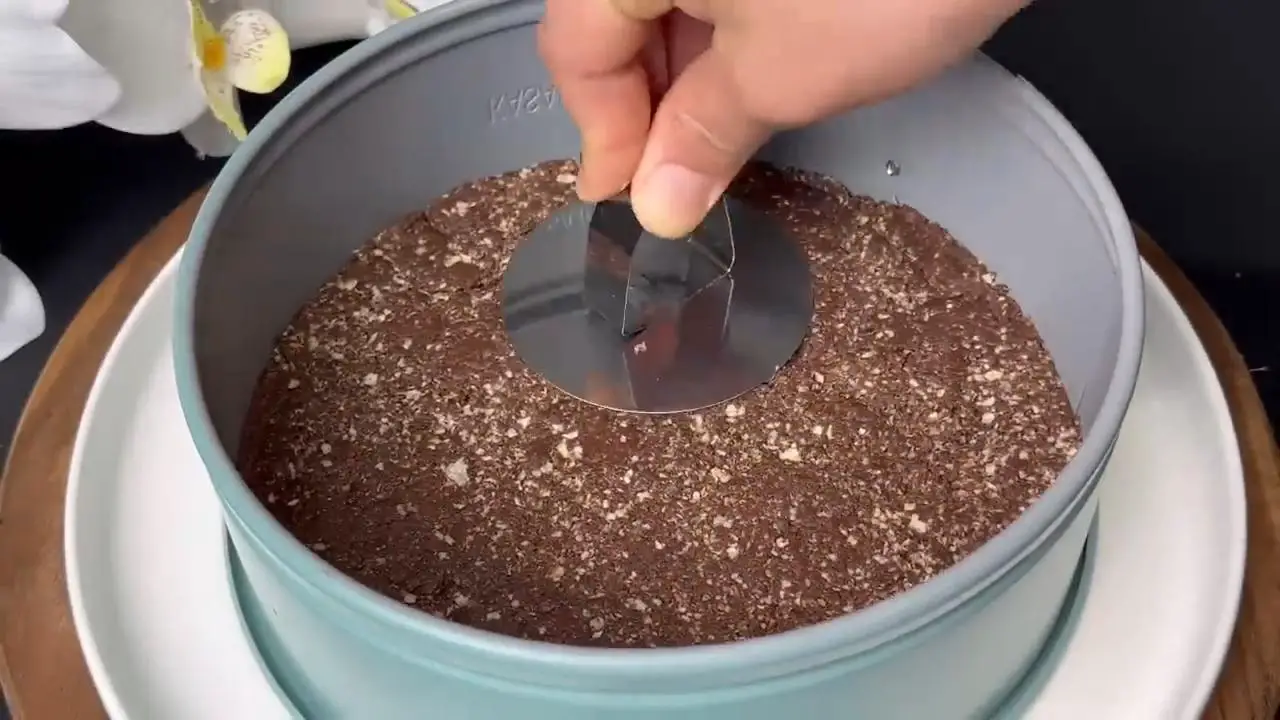
- Step 3
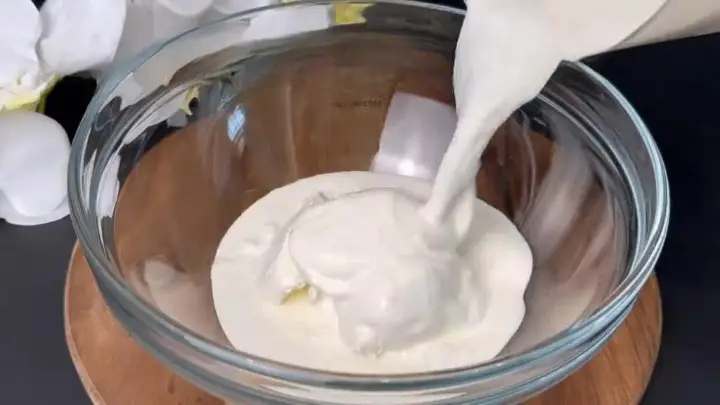
- Step 4
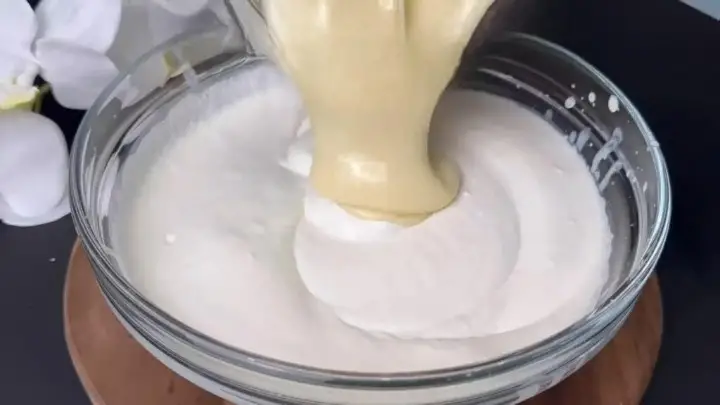
- Step 5
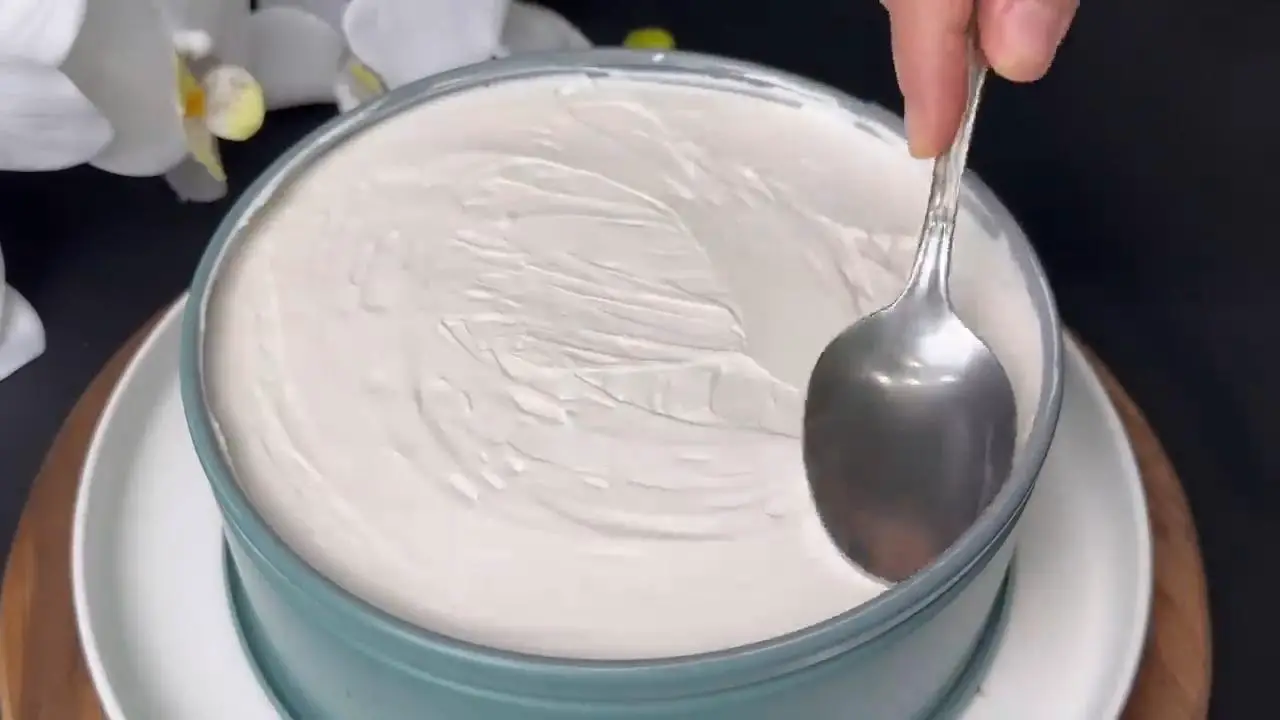
- Step 6

Recipe Video
Discover how to bake a delicious no-bake chocolate wafer cake with our detailed video tutorial, making it perfect for any occasion. Watch the step-by-step recipe video here!
Ingredient Spotlight
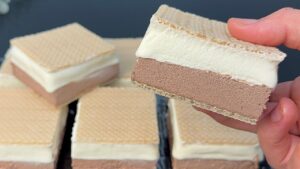
- Chocolate Wafers: These serve as a delightful base, giving the cake its structure and chocolaty touch.
Philadelphia or Mascarpone Cheese: It adds creaminess and depth, ensuring the cake’s luxurious texture.
Whipping Cream: Introducing moisture and richness, the cream binds our ingredients together while imparting a smooth texture.
Condensed Milk: Beyond its sweetness, condensed milk gives the cake a velvety consistency.
Expert Tips
- Choice of Cheese: Philadelphia offers a tangy profile, while Mascarpone is richer. Choose according to your personal preference or based on availability.
- Setting Time: While 2 hours is the minimum recommended setting time, longer refrigeration will enhance the cake’s texture and flavor.
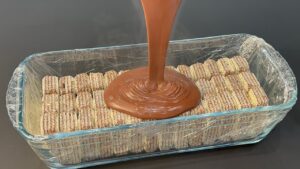
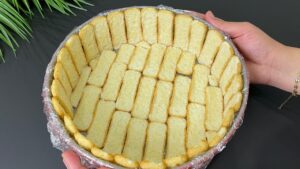
- Optimal Wafer Layering: Ensure the wafers are overlapped slightly for an even base. This ensures structural integrity and prevents the creamy mixture from seeping through gaps.
- Cheese Texture: Let the Philadelphia or Mascarpone cheese come to room temperature for a smoother consistency before mixing. This ensures easier blending and a silkier texture.
- Whipping Cream Consistency: Whip the cream to soft peaks before adding other ingredients. Over-whipping can lead to a buttery texture while under-whipping can make the no-bake cake less stable.
- Condensed Milk Alternatives: If you find the cake too sweet, consider using unsweetened condensed milk and adding sugar or a sugar substitute to taste. This allows for more control over sweetness levels.
- Setting Time: While refrigeration is recommended, if you’re in a hurry, place the cake in the freezer for about 30 minutes to speed up the setting process. However, remember that freezing can alter the texture, making it denser.
Variations
- Fruit Fantasy: Layer sliced strawberries or bananas between the wafers and the creamy mixture for a refreshing fruity twist.
- Nutty Affair: Sprinkle crushed almonds or hazelnuts atop the cake before refrigerating, introducing a delightful crunch and nutty undertone.
- Coffee Enthusiast: Swirl in a shot of espresso into the creamy mixture, creating a treat perfect for coffee lovers.
- Tropical Treasure: Introduce a layer of mango puree or pineapple chunks for a tropical flavor profile reminiscent of a summer getaway.
- Caramel Cascade: Drizzle salted caramel over the cake, then refrigerate. Upon serving, add another drizzle for a double layer of caramel goodness.
- Berry Bliss: Blend in a mixture of crushed blueberries, raspberries, and blackberries into the creamy concoction. The burst of berry flavors offers a tangy contrast to the sweet base.
- Choco-Chip Charm: Fold a handful of mini chocolate chips into the mixture for a surprise chocolaty crunch in every slice.
Storage
Refrigerate the cake in an airtight container for up to 3 days. You can also freeze this cake. However, because it is very easy to make, I recommend not storing it for longer.


